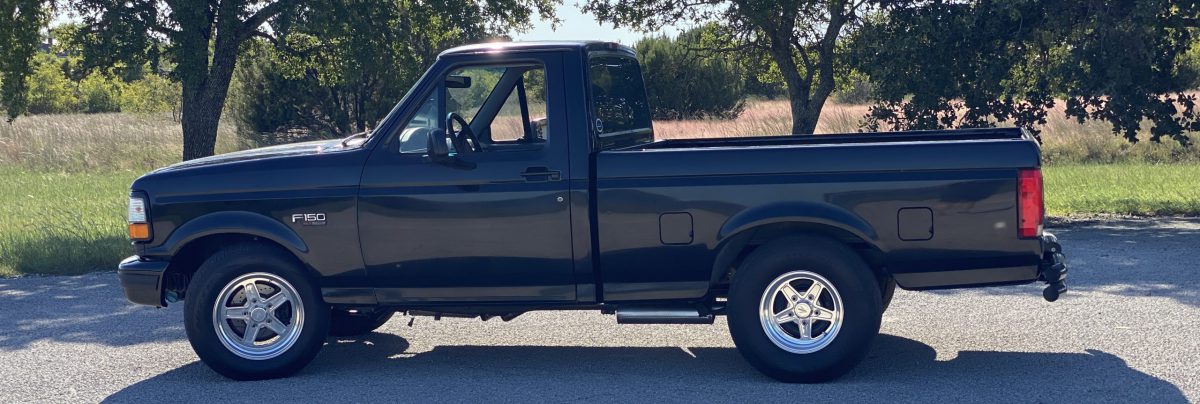
After deciding to not share any of the stock vehicle wiring with the Megasquirt Fuel Injection system being installed in my 1995 Lightning project it was time to build a custom fuse and relay center. There really were no affordable off the shelf setups so I began piecing one together that met my needs. 1st and foremost you need to properly plan for two items. One, what is the total amount of current you will run through the setup and two will you be using negative triggered relays or positive triggers or both? Looking over the items being being used in the fuel injection setup (namely 8 IGN-1A coils) I needed several relays and fused circuits. A couple of the relays would handle quite large current and then I needed one main relay that was ground triggered.
The solution, I picked up a Bussman 15303-2 fuse/relay center for all my positively triggered relays and fuse needs, 4 terminal blocks to provide connectivity to and from the fuse/relay center, two very cool Bussman AMI fuse holders to protect the dual 40A IGN-1A coil circuits, 3 Picker 40A relays (these are mounted to the fender) two for the IGN-1As and one as a main, and a Blue Sea Systems power block to provide power and ground from the battery.
The whole setup is activated using a 40A Picker relay as a main relay, this relay controls all the others and is only energized when the key is on. I also utilized the stock Ford fuel pump inertia switch. This switch can sense impact and it will kill the main relays ground circuit which in turn shuts everything down. This way in a crash my fuel pump, fans, O2 sensor, coils, injectors, etc will all shut down.
Below is the circuit diagram.

After planning the electrical portion it was time to figure out where to mount this setup. The project that I am building this for has a perfect place, right where the stock air filter box was mounted. ‘Cause who keeps the stock air filter? After choosing the location I figured I needed some nice material to house the components. I picked up some Carbon Fiber from Tim McAmis Performance Parts for the board and then some .125” 6061 Aluminum sheet for the bracket. Then went to work on the CNC router.
Here’s a couple of quick videos showing the Carbon Fiber cut and the aluminum cut.
While the Carbon Fiber is trick, it’s not as rigid as I’d like so I put use some aluminum stand-offs between it and the bracket for extra strength.
Finished board and bracket. The bracket and stand-offs will be going to the powdercoaters to get a nice semi-gloss black coating.
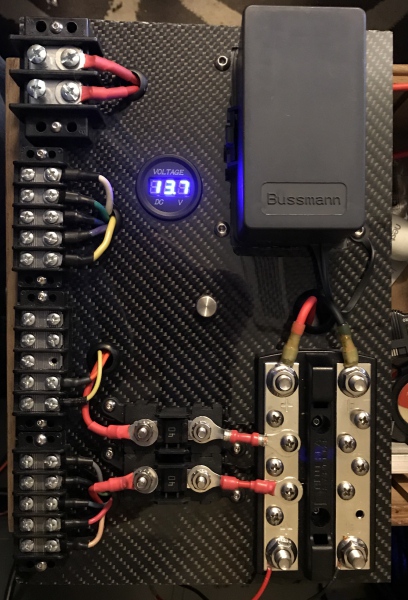


All mounted up in the truck.


Parts list:
Bussman 15303-2 if you want to assemble it yourself or pick up a pre-populated unit from Concours Specialties
Blue Sea Systems Dualbus Plus Stud, Screw Terminal
