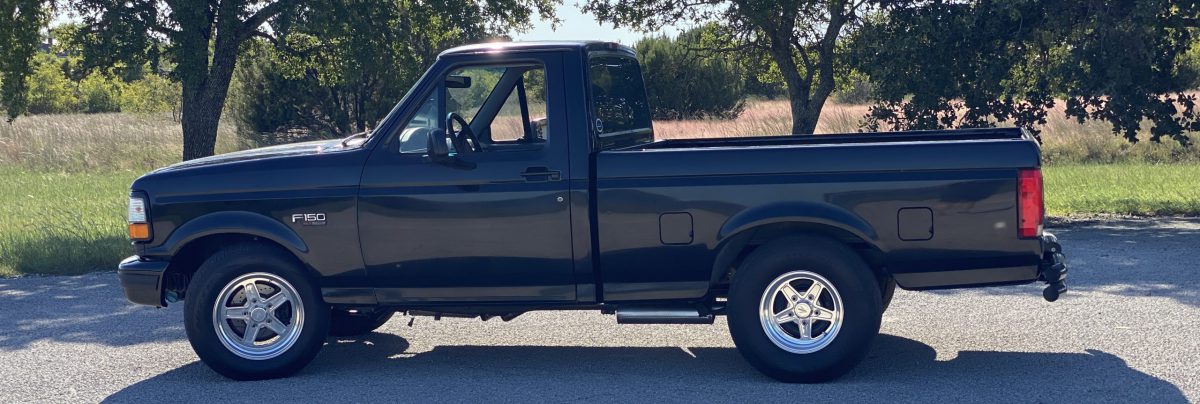
When I first started down the road of installing a Megasquirt fuel injection system in my 1995 Lightning full sequential injection and 1 coil per cylinder where not on my list. Initially I had planned on running a traditional coil and distributor. But I changed my mind once I started researching the benefits of having precise fuel and spark events that come with a crank and cam sensor. Not to mention, it’s kind of cool looking and different.
With that in mind I needed to tackle what I believe is the toughest part, the cam sensor. Sure there’s dual sync distributors out there that can provide a cam sensor, but I do not believe this setup is as accurate as a “real” dedicated sensor. Researching more I found that Ford did provide cam sensors in their later model pushrod V-8’s and V-6’s. Namely the late 90’s and early model Explorers. The 3.8, 4.0, and 5.0 all came with them in 2 versions. A 3 wire hall sensor and a 2 wire VR sensor.
If I were using an 8.2 deck height based engine (302) all would be good as I could just use the 5.0 Explorer cam sensor. But alas mine is a 351w based motor. Why does this matter? Well the 5.0 distributor/cam sensor shaft is smaller in diameter than the 351’s. **But** as luck would have it the 4.0 V-6 uses the correct shaft. So all one needs to do is to pick up both a 4.0 cam sensor and a 5.0 cam sensor and swap the drive shaft. Important note: you must use the correct cam gear for the camshaft you are running.
If you do not wish to do all that work I have found a gentleman who will sell you a complete cam sensor with whatever cam gear you need for a very reasonable price. 64 Bit Tuning Concepts

OK, now that the cam sensor has been taken care of it’s time to work out what you will use for a crank sensor. If you just Google Ford crank sensor most likely the first hit’s you’ll get are a bunch of 4 tooth magnet sensors. You do not really want one of those. What you do want is something similar to what Ford did in the Explorers (yes, I always look at how the OEMs did it). Ford used a 36-1 wheel mounted to the balancer. What is 36-1 you ask? Good question, it is basically a wheel with 36 teeth and one has been removed. Now for most high performance engines you do not want to run an old stock Ford Explorer balancer so here’s what I did. On my after market balancer I machined back 1/8″ on the front hub. This allows the crank sensor wheel to fit between the crank belt pulley and the balancer without affecting the belt alignment.

Now that you have the wheel taken care of you’ll need to mount a sensor. This is where you’ll need fab skills or a few $$$. I have no fab skills and no real fabrication tools so I spent the money on a crank sensor kit from Red Line Motorsports. It’s a little spendy, but a very high quality well built setup. I tried some other cheap crank trigger kits and quickly learned there’s a big difference. Note that the kit comes without sensor, I recommend the stainless Cherry hall sensor. It’s super rugged and very high quality. I picked mine up from Mouser Electronics It works perfectly with the Megasquirt fuel injection setup, although you will (with any application) need to add an appropriate pull up resistor depending on the supply voltage. 5v requires a 1k resistor and 12v requires a 2.4k resistor. Here’s the datasheet

Awesome, now you have your sensors, wheels, and mounting all figured out. What’s next? Well I decided I wanted coil near plug (man that’s how all this started right?).
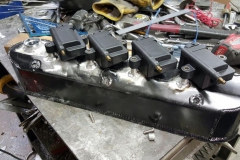
OK, so what exactly are you going to use for coils? Another good question. There’s a few choices, among them are the later model GM LS coils (a lot of times referenced as D585) or the IGN-1A race coils. I chose the IGN-1A from DIYAutotune, why? The D585 is a solid choice, but I really wanted something that would be pretty much future proof. Meaning a coil that will handle anything I decide to do with the motor, namely make more HP. Alrighty coil chosen now where the heck do I mount them? That’s a challenge and will definitely require a custom setup. I ended up having a buddy weld mounting standoffs to a set of sheet metal valve covers. he did a great job! Speaking of great jobs, Top Koat in Kennedale Texas powder coated the valve covers and made them look great!
Whew! Still with me? So lastly is wiring. 1st thing 1st, the IGN-1A’s are monsters and require big current. This required 1 40 amp relay per bank of four coils and 12 gauge wire for both power and power ground (the wire runs are very short otherwise I would have run 10 gauge). Then each bank of 4 coils requires another ground to the cylinder head for that bank. You’ll also need all the coils to connect to the Megasquirt’s sensor ground and finally each coil to it’s respective ignition out from the Megasquirt. That’s a lot of wiring! I sidestepped a lot of it and purchased a Holley EFI coil connector kit (available from Amazon and supports the site!) as their “smart” coils wire the same as the IGN-1As do. Although I did have to mod the harness for the higher amperage power and grounds.

Well, that’s it. I hope this write up was helpful to you!


One thought on “Small Block Ford Coil Near Plug (CNP) With Megasquirt”